The renovation of our first project house on Perry St was a 6 year labor of love. Everything needed to be done: roof, gutters, siding, gut of the interior, yard, landscaping, concrete repair and removal, furnace replacement, removal of two large chimneys, insulation, electrical, plumbing, windows, doors. Not much more than the frame of the house is original, and even some of that had to be replaced.
Notice the drop ceiling, the strange shape of the closet, the dated light fixture, and wood paneling.
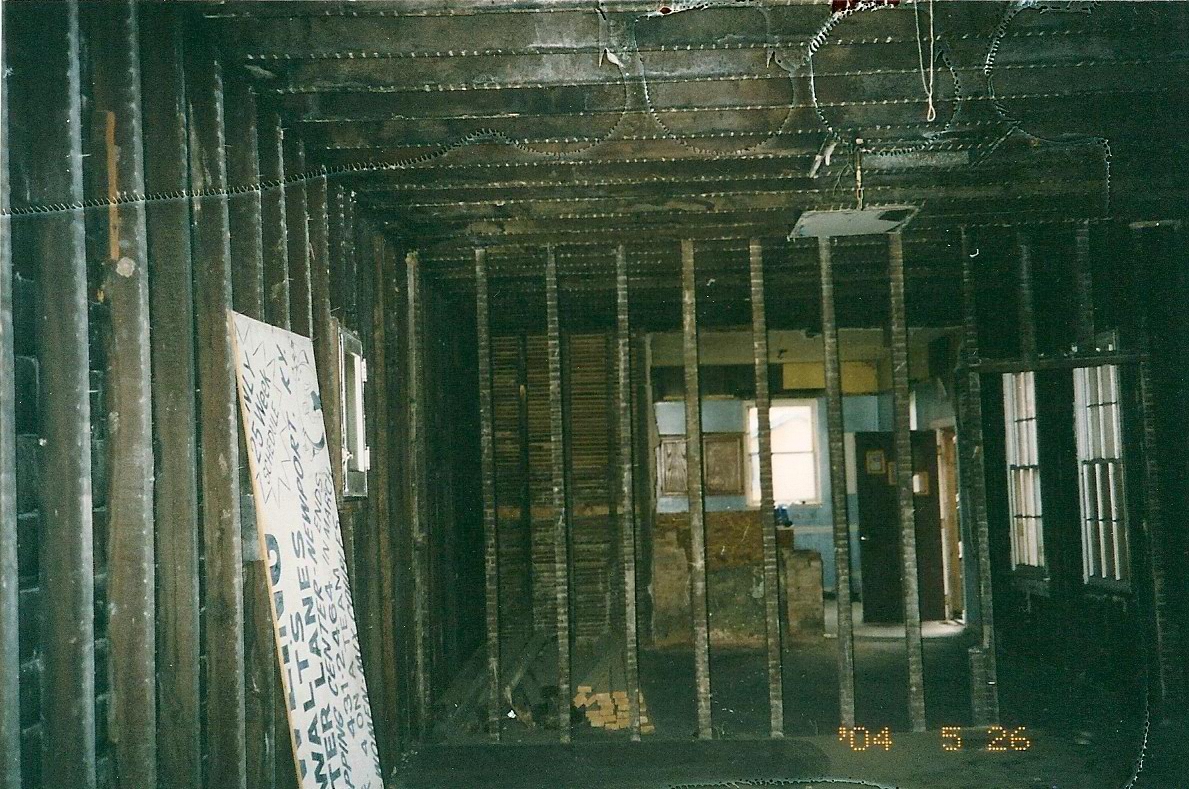
The picture above doesn't give justice to the magnitude of this gut, on the left, outside of the studs is the wood siding that is visible on the outside. The house was actually stripped of that leaving only a 100 year old skeleton. Really starting from scratch.
Notice the remnants of the vinyl siding. Portions of Covington, Ky were declared a historic district at some point in time. In order to conform to the rules, we had to replace the cedar slap board siding, one board at a time. Some of the wood could be restored and reused but most was in bad shape and was discarded.
The two chimneys were removed in favor of more floor space.
The yard had an odd side walk down the left, the concrete was broken up and used build a 'stone' wall that also helps bring the yard slightly closer to level. The concrete was also used to make a 'stone' walkway as well.
Graded, sodded, fenced and a sliver of the driveway is visible on the right.
The picture is older, so if you were to look at it today, imagine the rose bush 5 times larger and the hollies beside it roughly 3 time bigger. That rose bush grows faster than any other I've seen.
Finished interior. To the right straight ahead is the large bathroom, to the left the master bed, and to the right the 2nd bedroom.
Kitchen and dining room, entrance to the left for laundry and half bathroom.
The kitchen looking out.
The project was very much by hand. The roof, driveway, and furnace installation were among the very few tasks that outsourced. Many family and friends have been apart of this project, and all who took part, should have great pride in their work.